
Attendance
The Attendance page shows daily records built from saved scans. Use it to check a particular day, find one person’s history over a period, and see exactly which scans a result is based on.
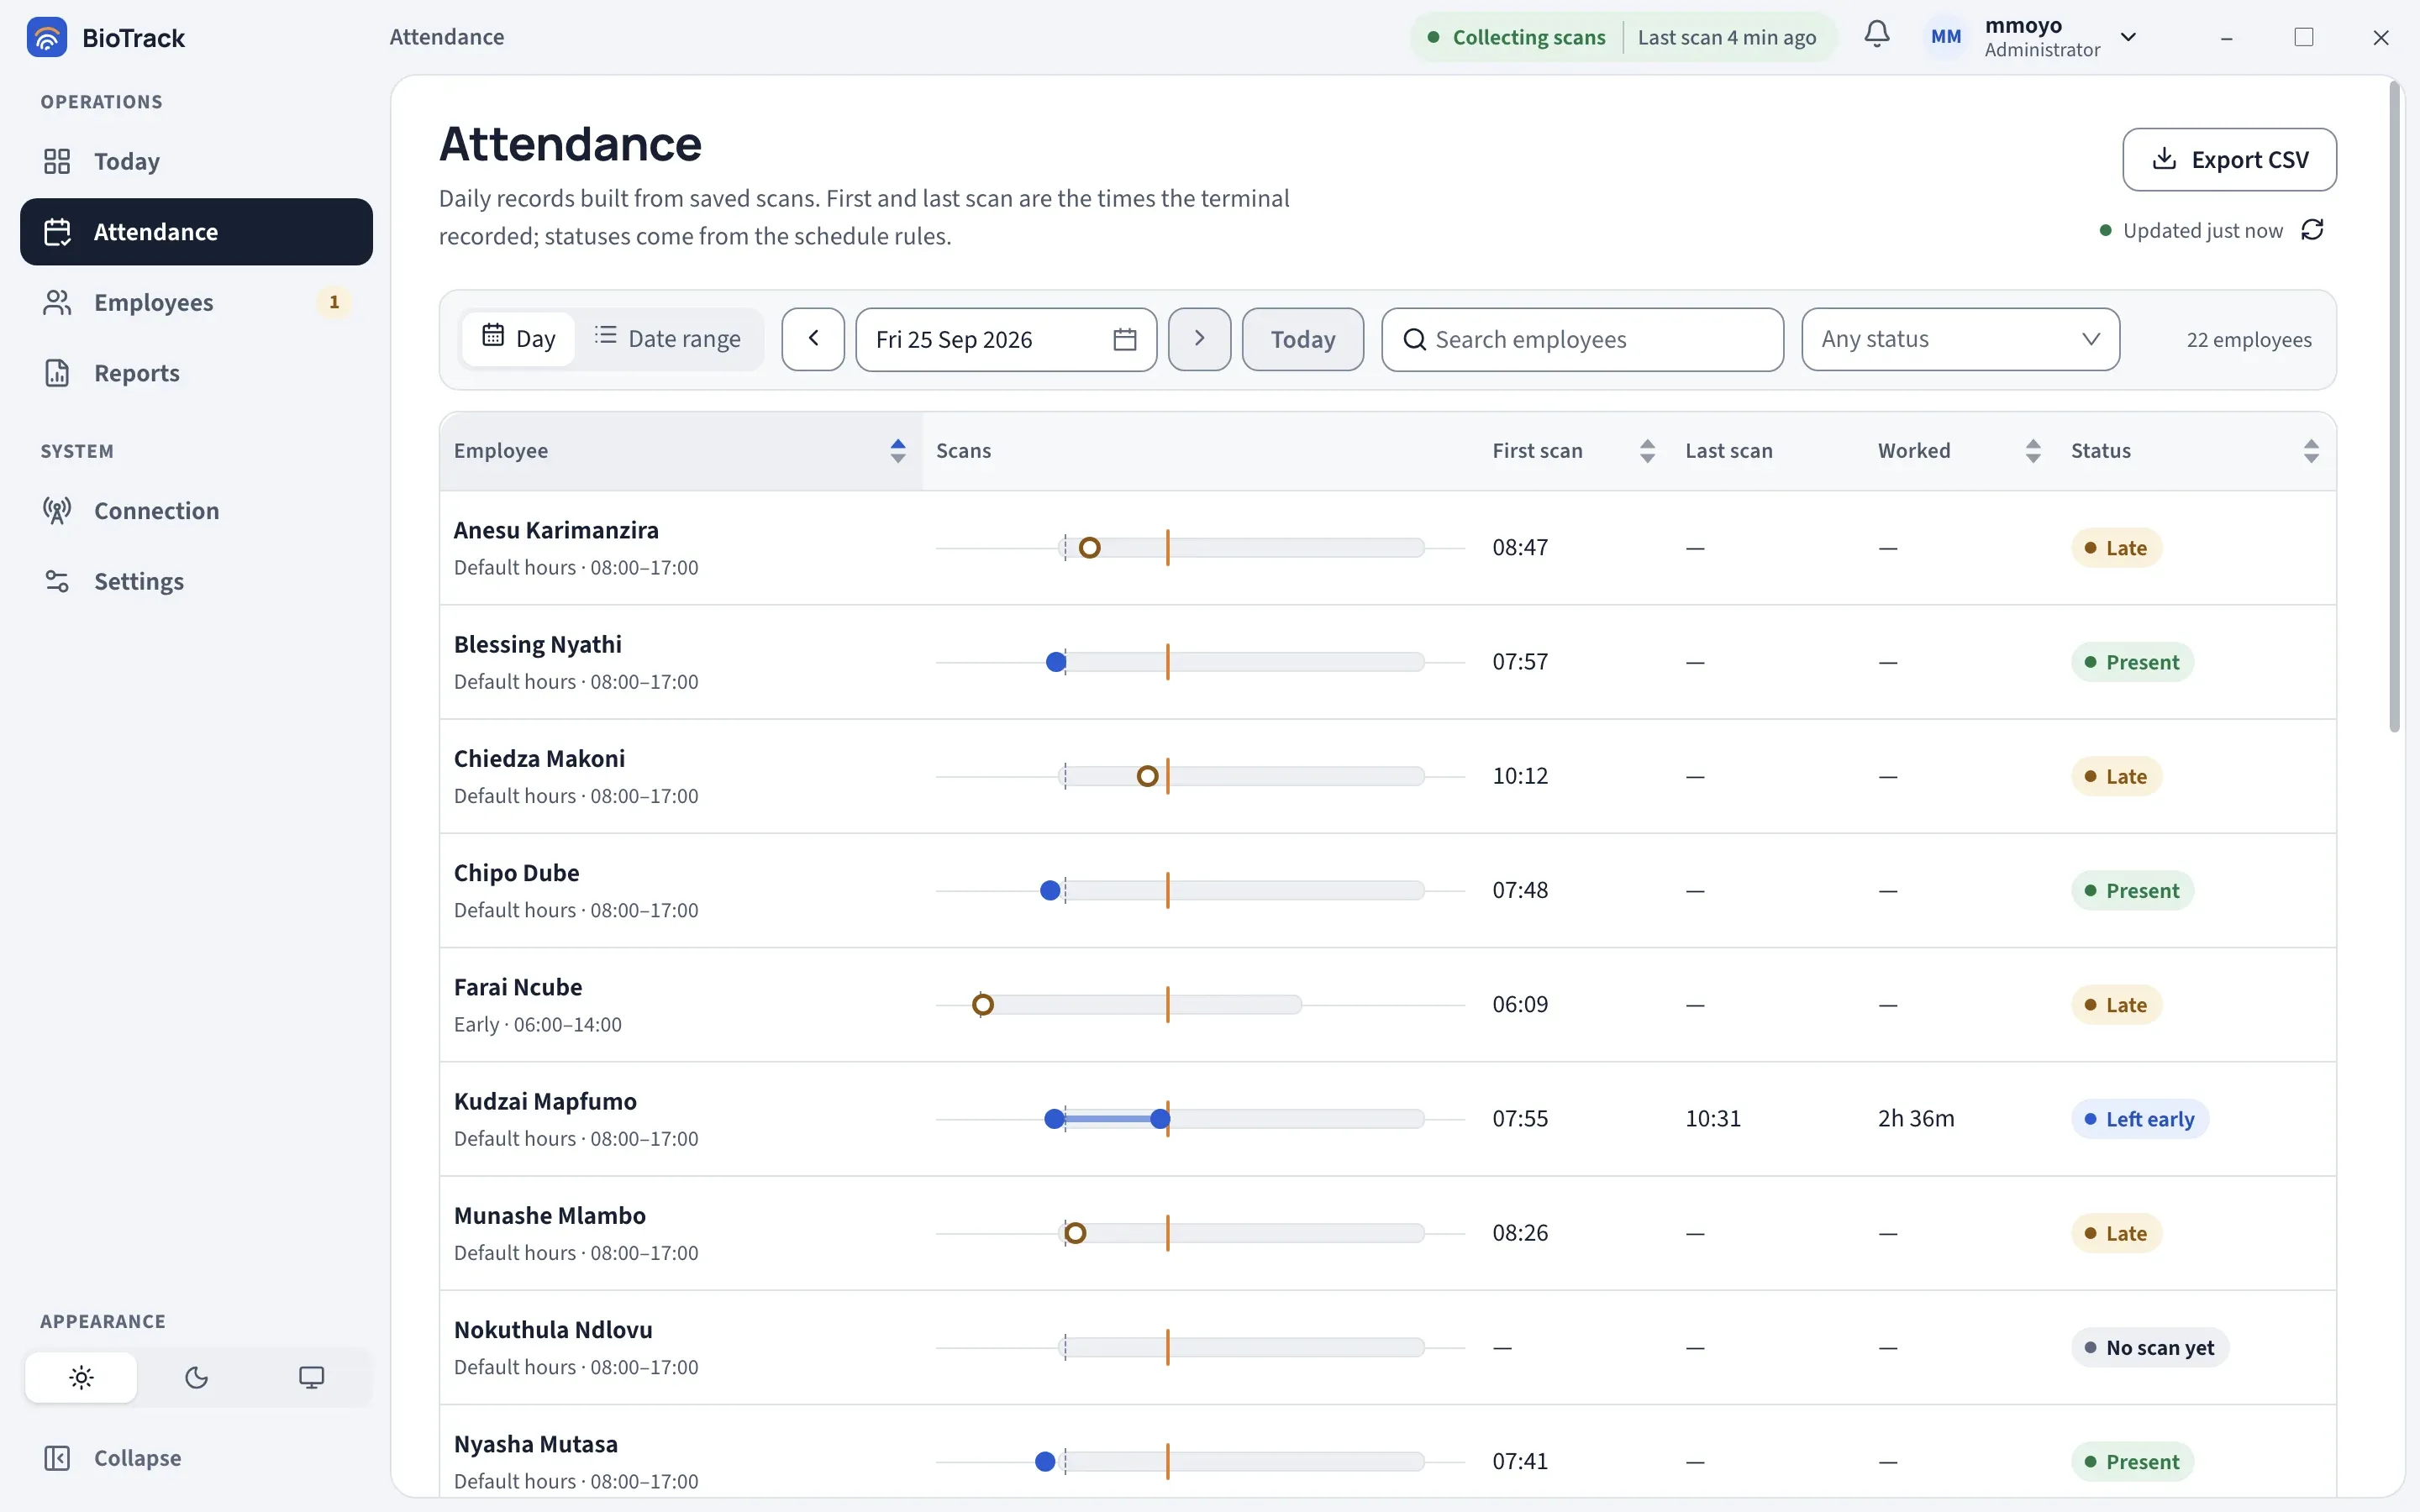
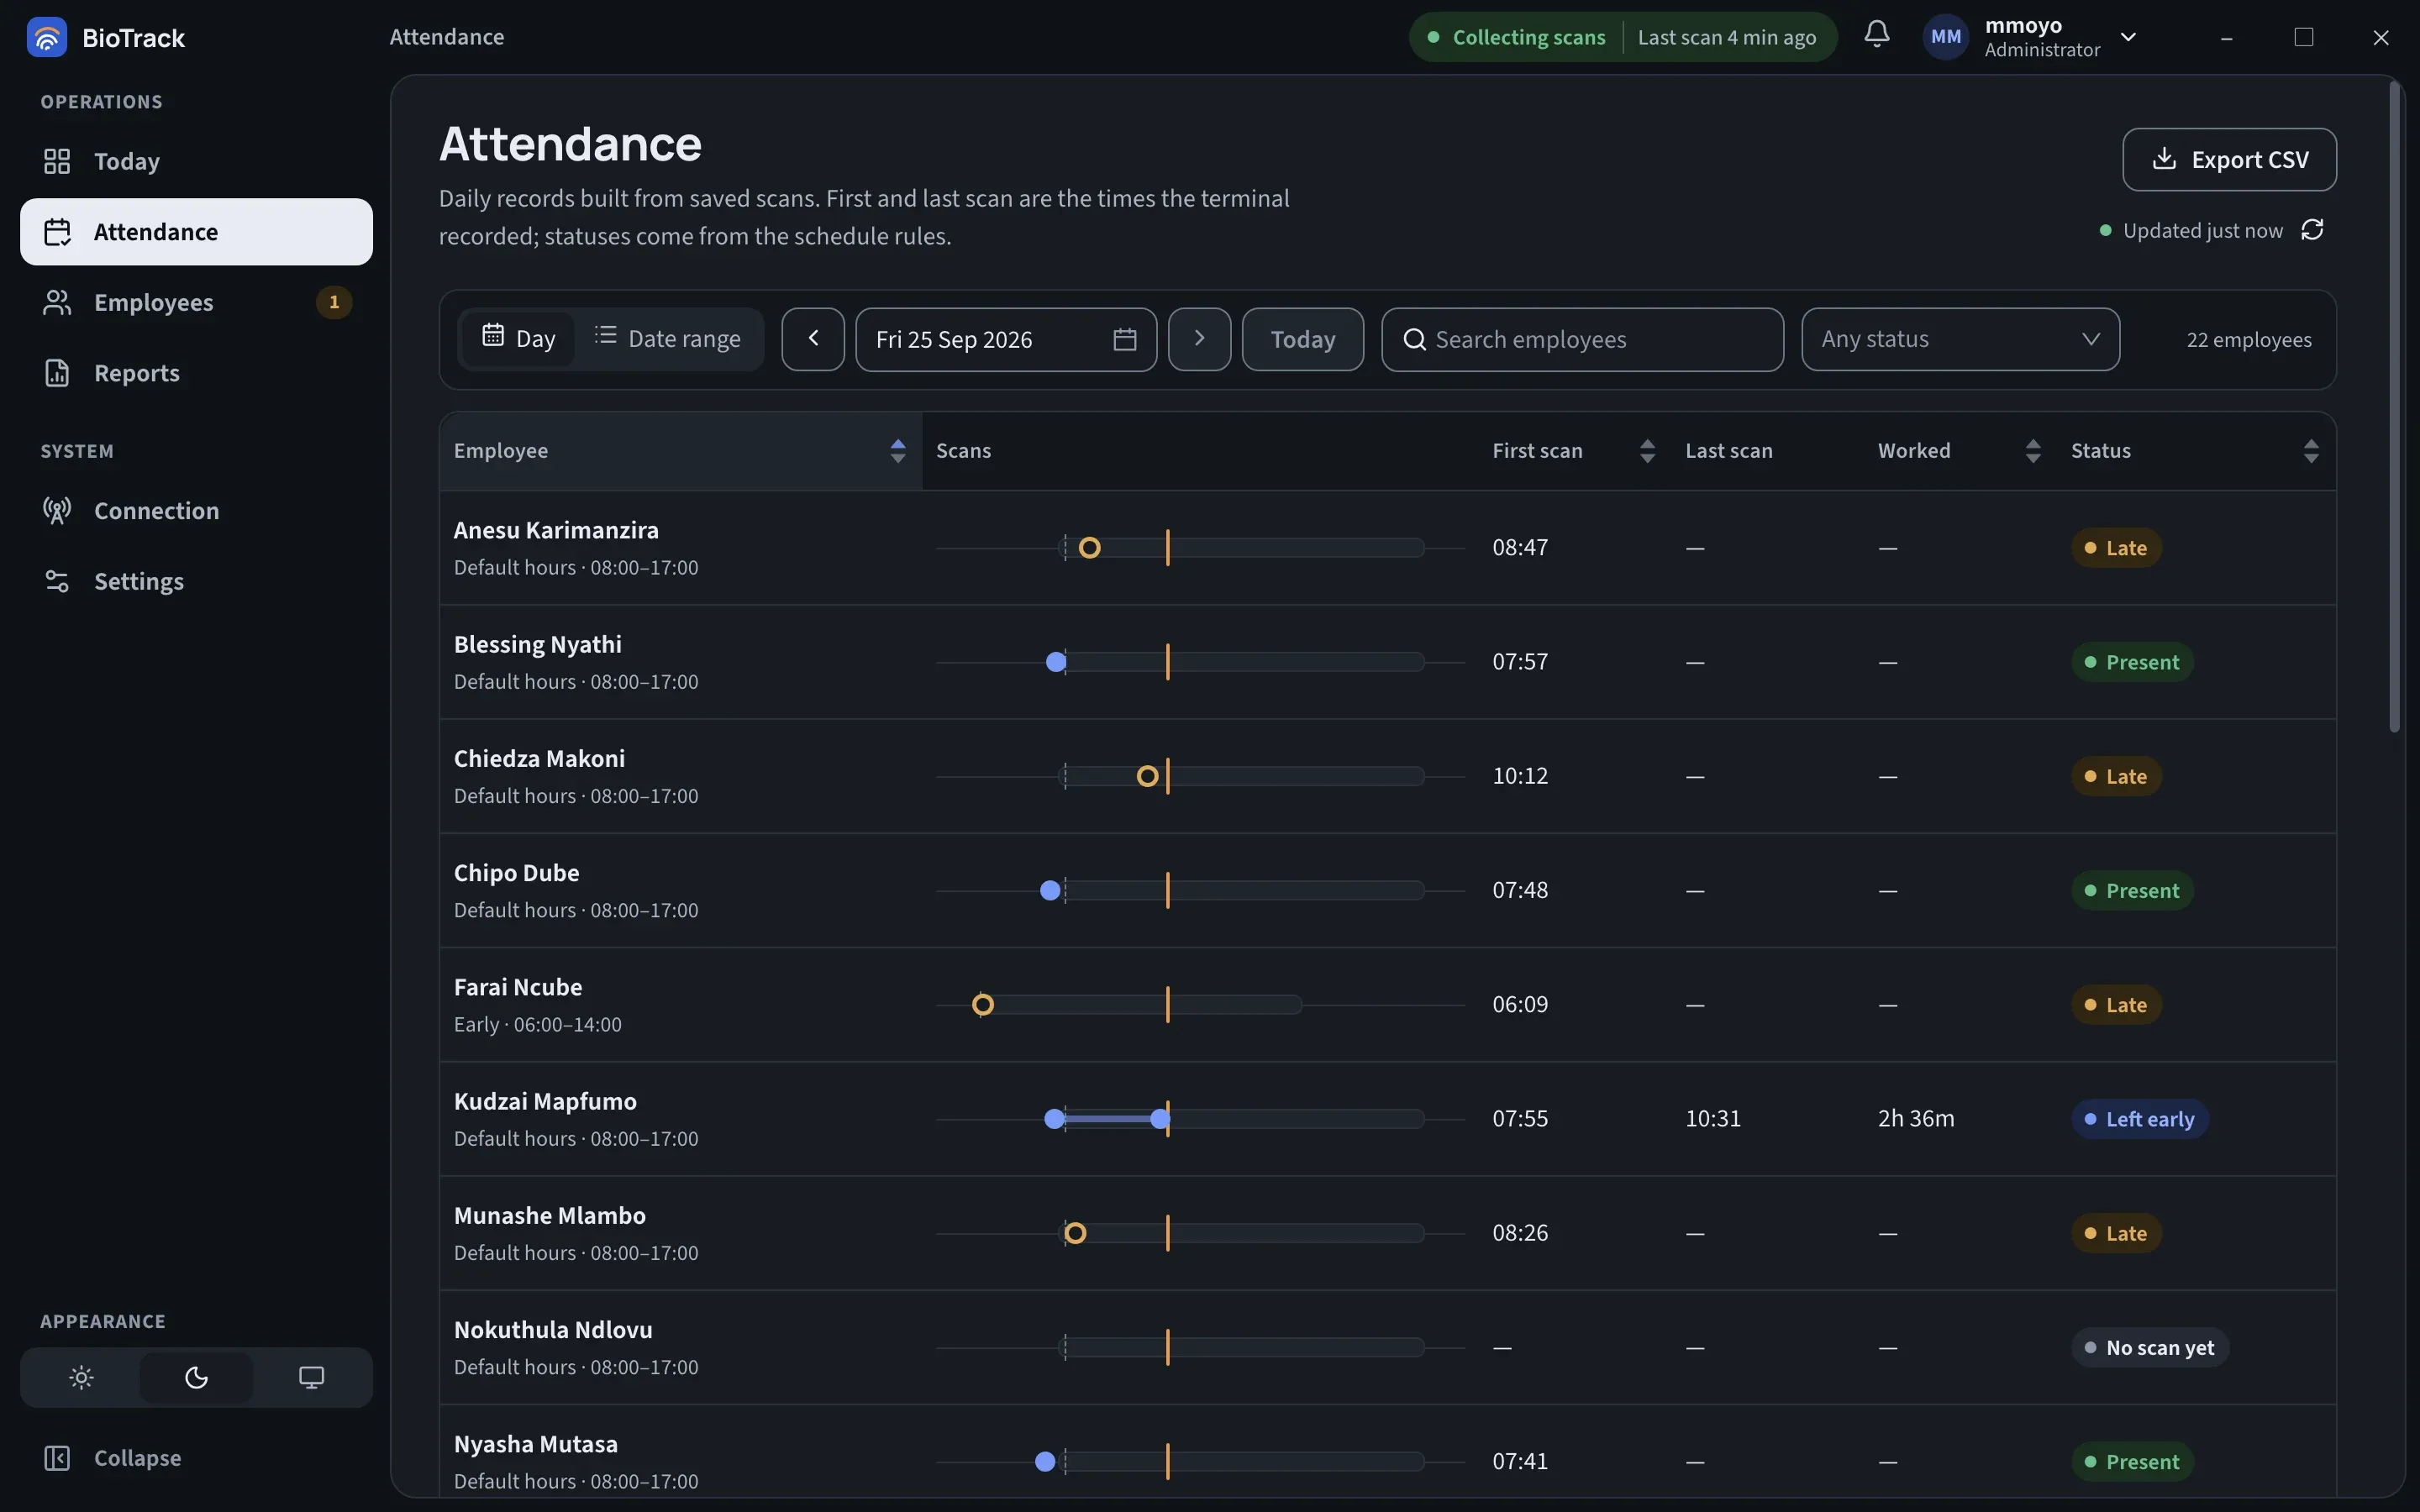
First scan and Last scan are the times the terminal recorded. The status (Present, Late and so on) comes from each employee’s schedule. BioTrack does not ask people to scan “in” or “out”; it takes the earliest and latest scan of the day.
Day or Date range
Section titled “Day or Date range”Switch between the two views with Day and Date range at the top left.
Day lists every employee relevant to one date, including people with no scan, so you can see who was absent or on leave.
- Use the arrows either side of the date to go back or forward one day, or select the date to pick one from a calendar. Future dates are not available.
- Today jumps back to today. While you are on today, the view moves to the new day automatically at midnight on the site clock.
Columns:
| Column | Meaning |
|---|---|
| Employee | Name, with the schedule underneath (for example Default hours · 08:00–17:00). |
| Scans | A timeline of the day (see below). |
| First scan / Last scan | Times from the terminal. — means none. |
| Worked | Time between the first and last scan. |
| Status | The day’s result. Hover over it for a one-line explanation. |
Select a column heading (Employee, First scan, Worked, Status) to sort by it.
Date range
Section titled “Date range”Date range lists saved records across a period you choose, one row per employee per day, 50 rows per page. It shows Employee, Date, First scan, Last scan, Worked and Status. Use it to review one person’s month or to export a period.
It lists only days that have a record. Leave, holidays and weekends without scans do not appear here; use Day or Reports for those.
Search and status filter
Section titled “Search and status filter”- Search employees narrows the list by name.
- Any status lets you show only one status, for example Late or Absent or no scan yet.
The count on the right (for example “18 employees of 22”) tells you how many rows match. If nothing matches, select Clear filters.
Reading the scan timeline
Section titled “Reading the scan timeline”Each row in Day view has a small timeline of that person’s day:
- The shaded bar is the Scheduled hours.
- A small mark shows the End of grace period. A first scan after it is late.
- Dots are Scans. An outlined first dot means the arrival was late.
- On today, an orange line marks Now.
The legend under the table repeats these.
Opening a record
Section titled “Opening a record”Select an employee’s name (or a dot on Today’s Arrivals chart, or a row in Recent scans) to open the record for that day in a panel on the right.
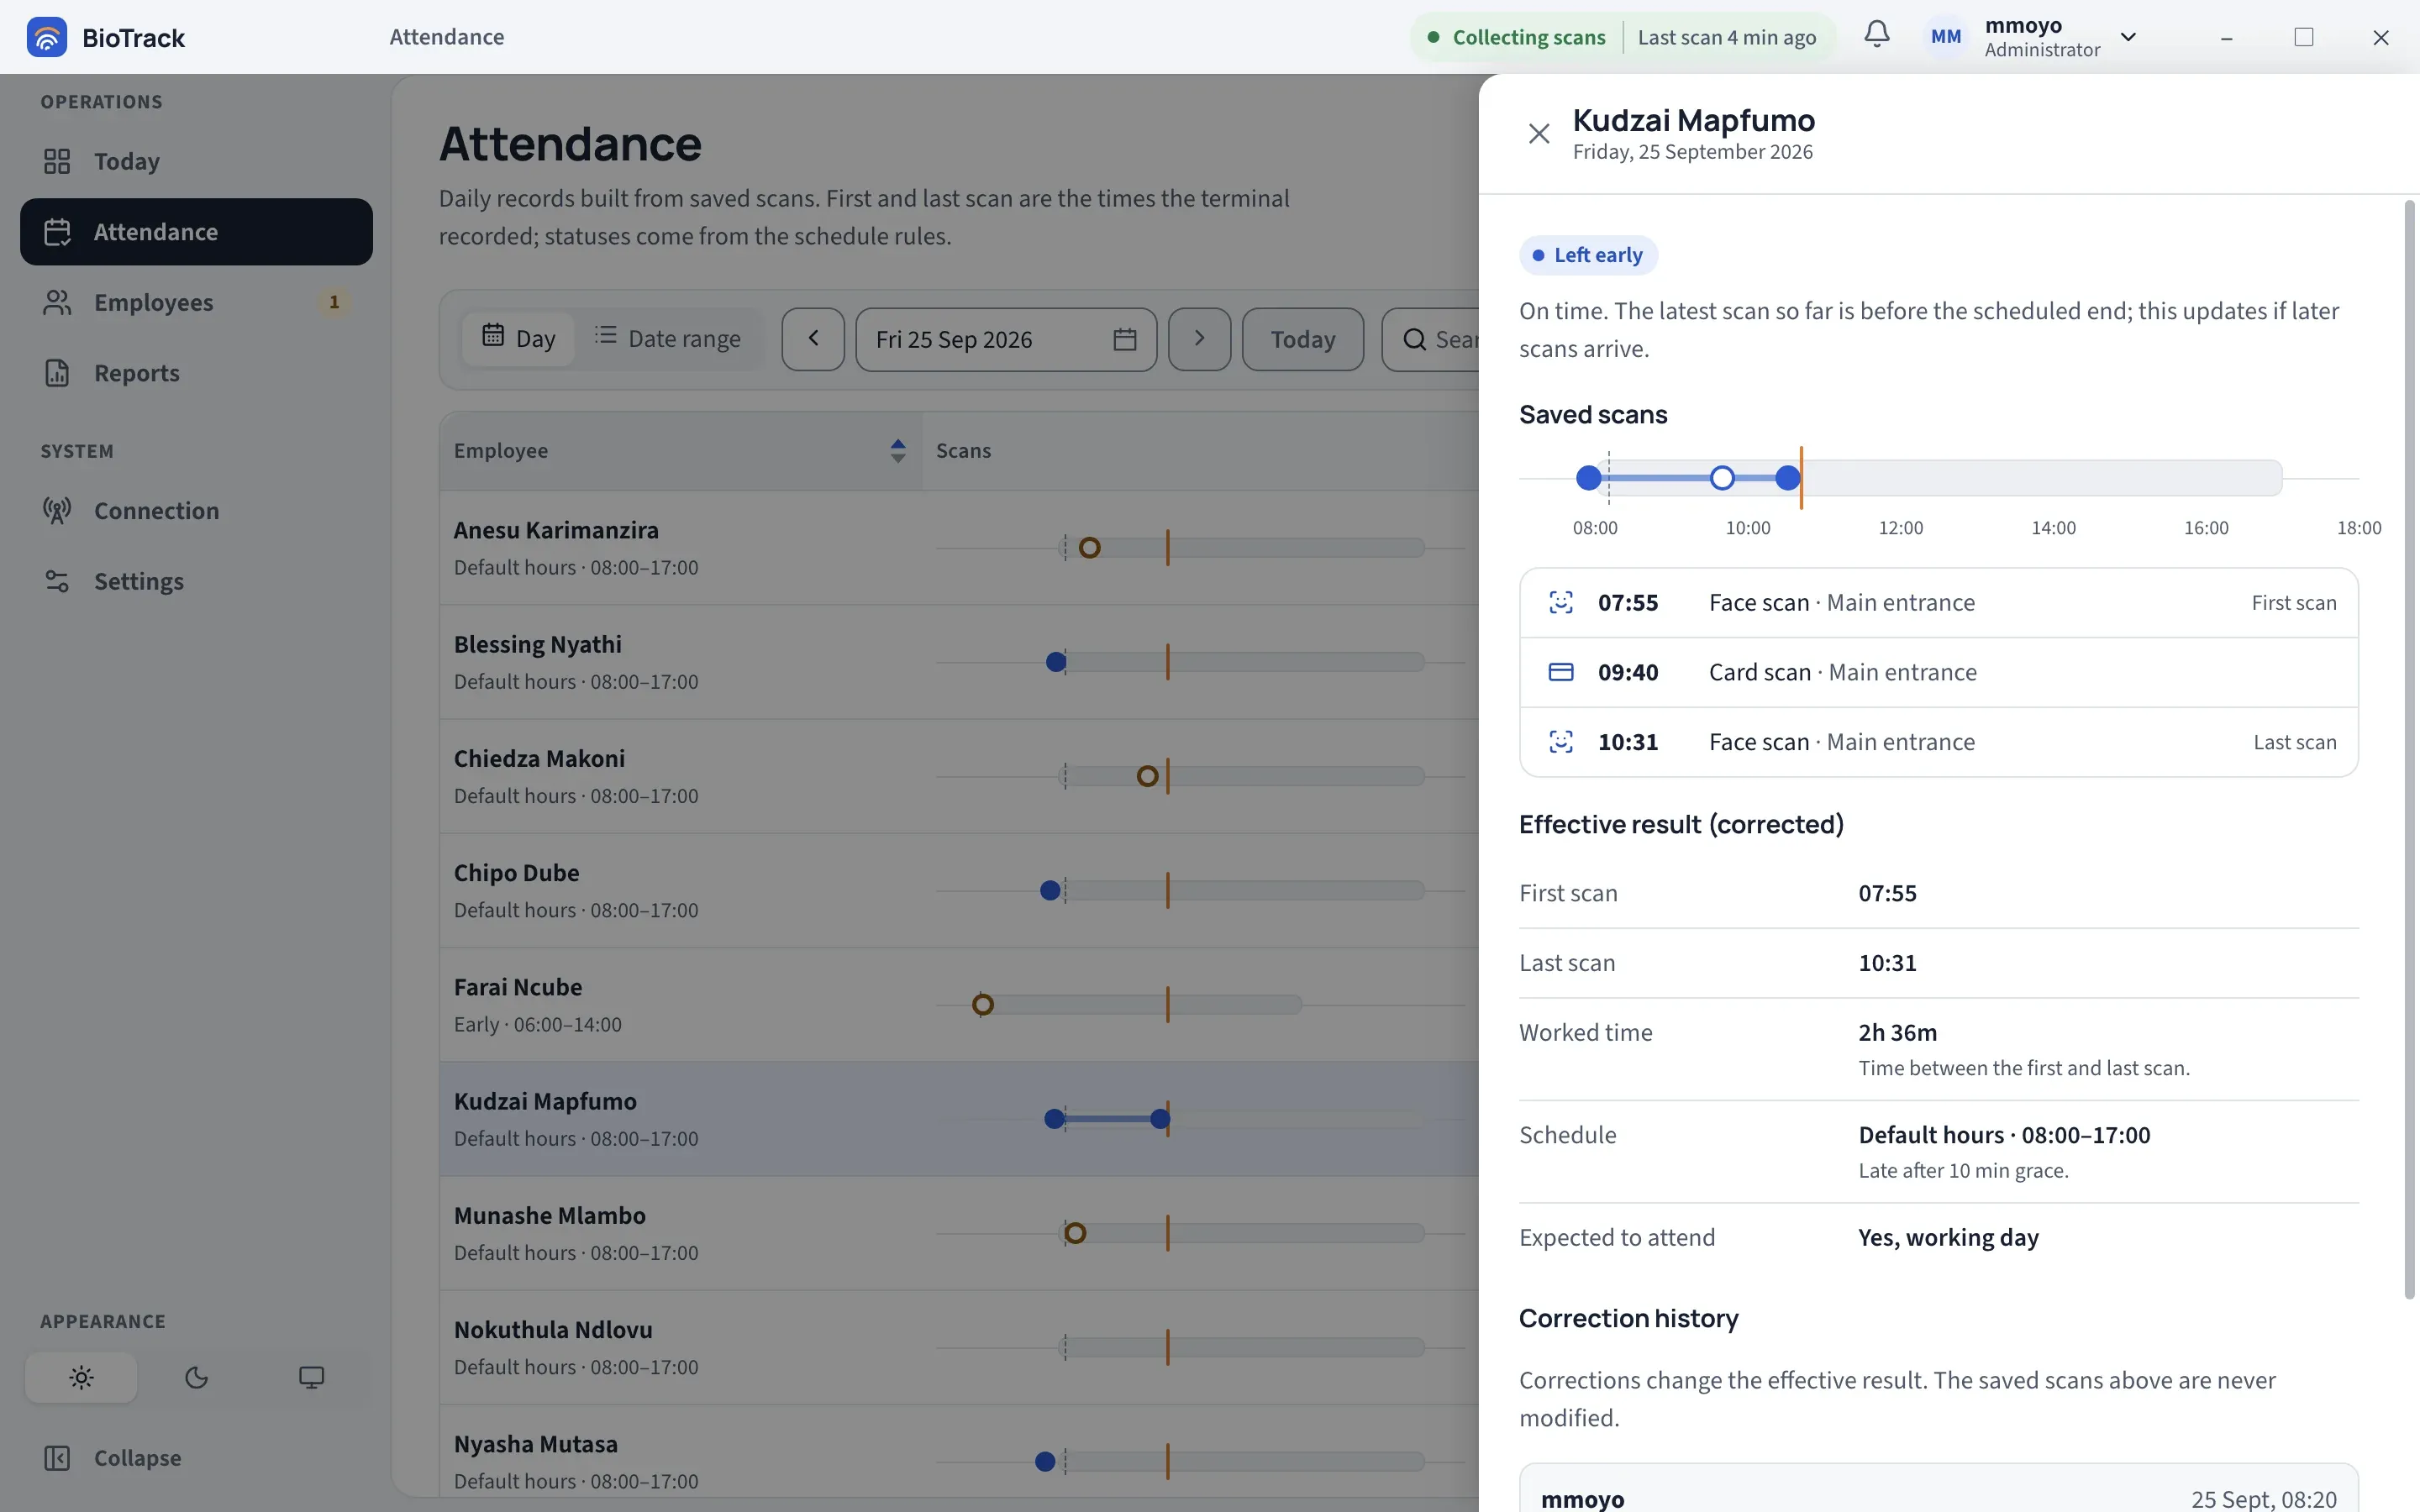
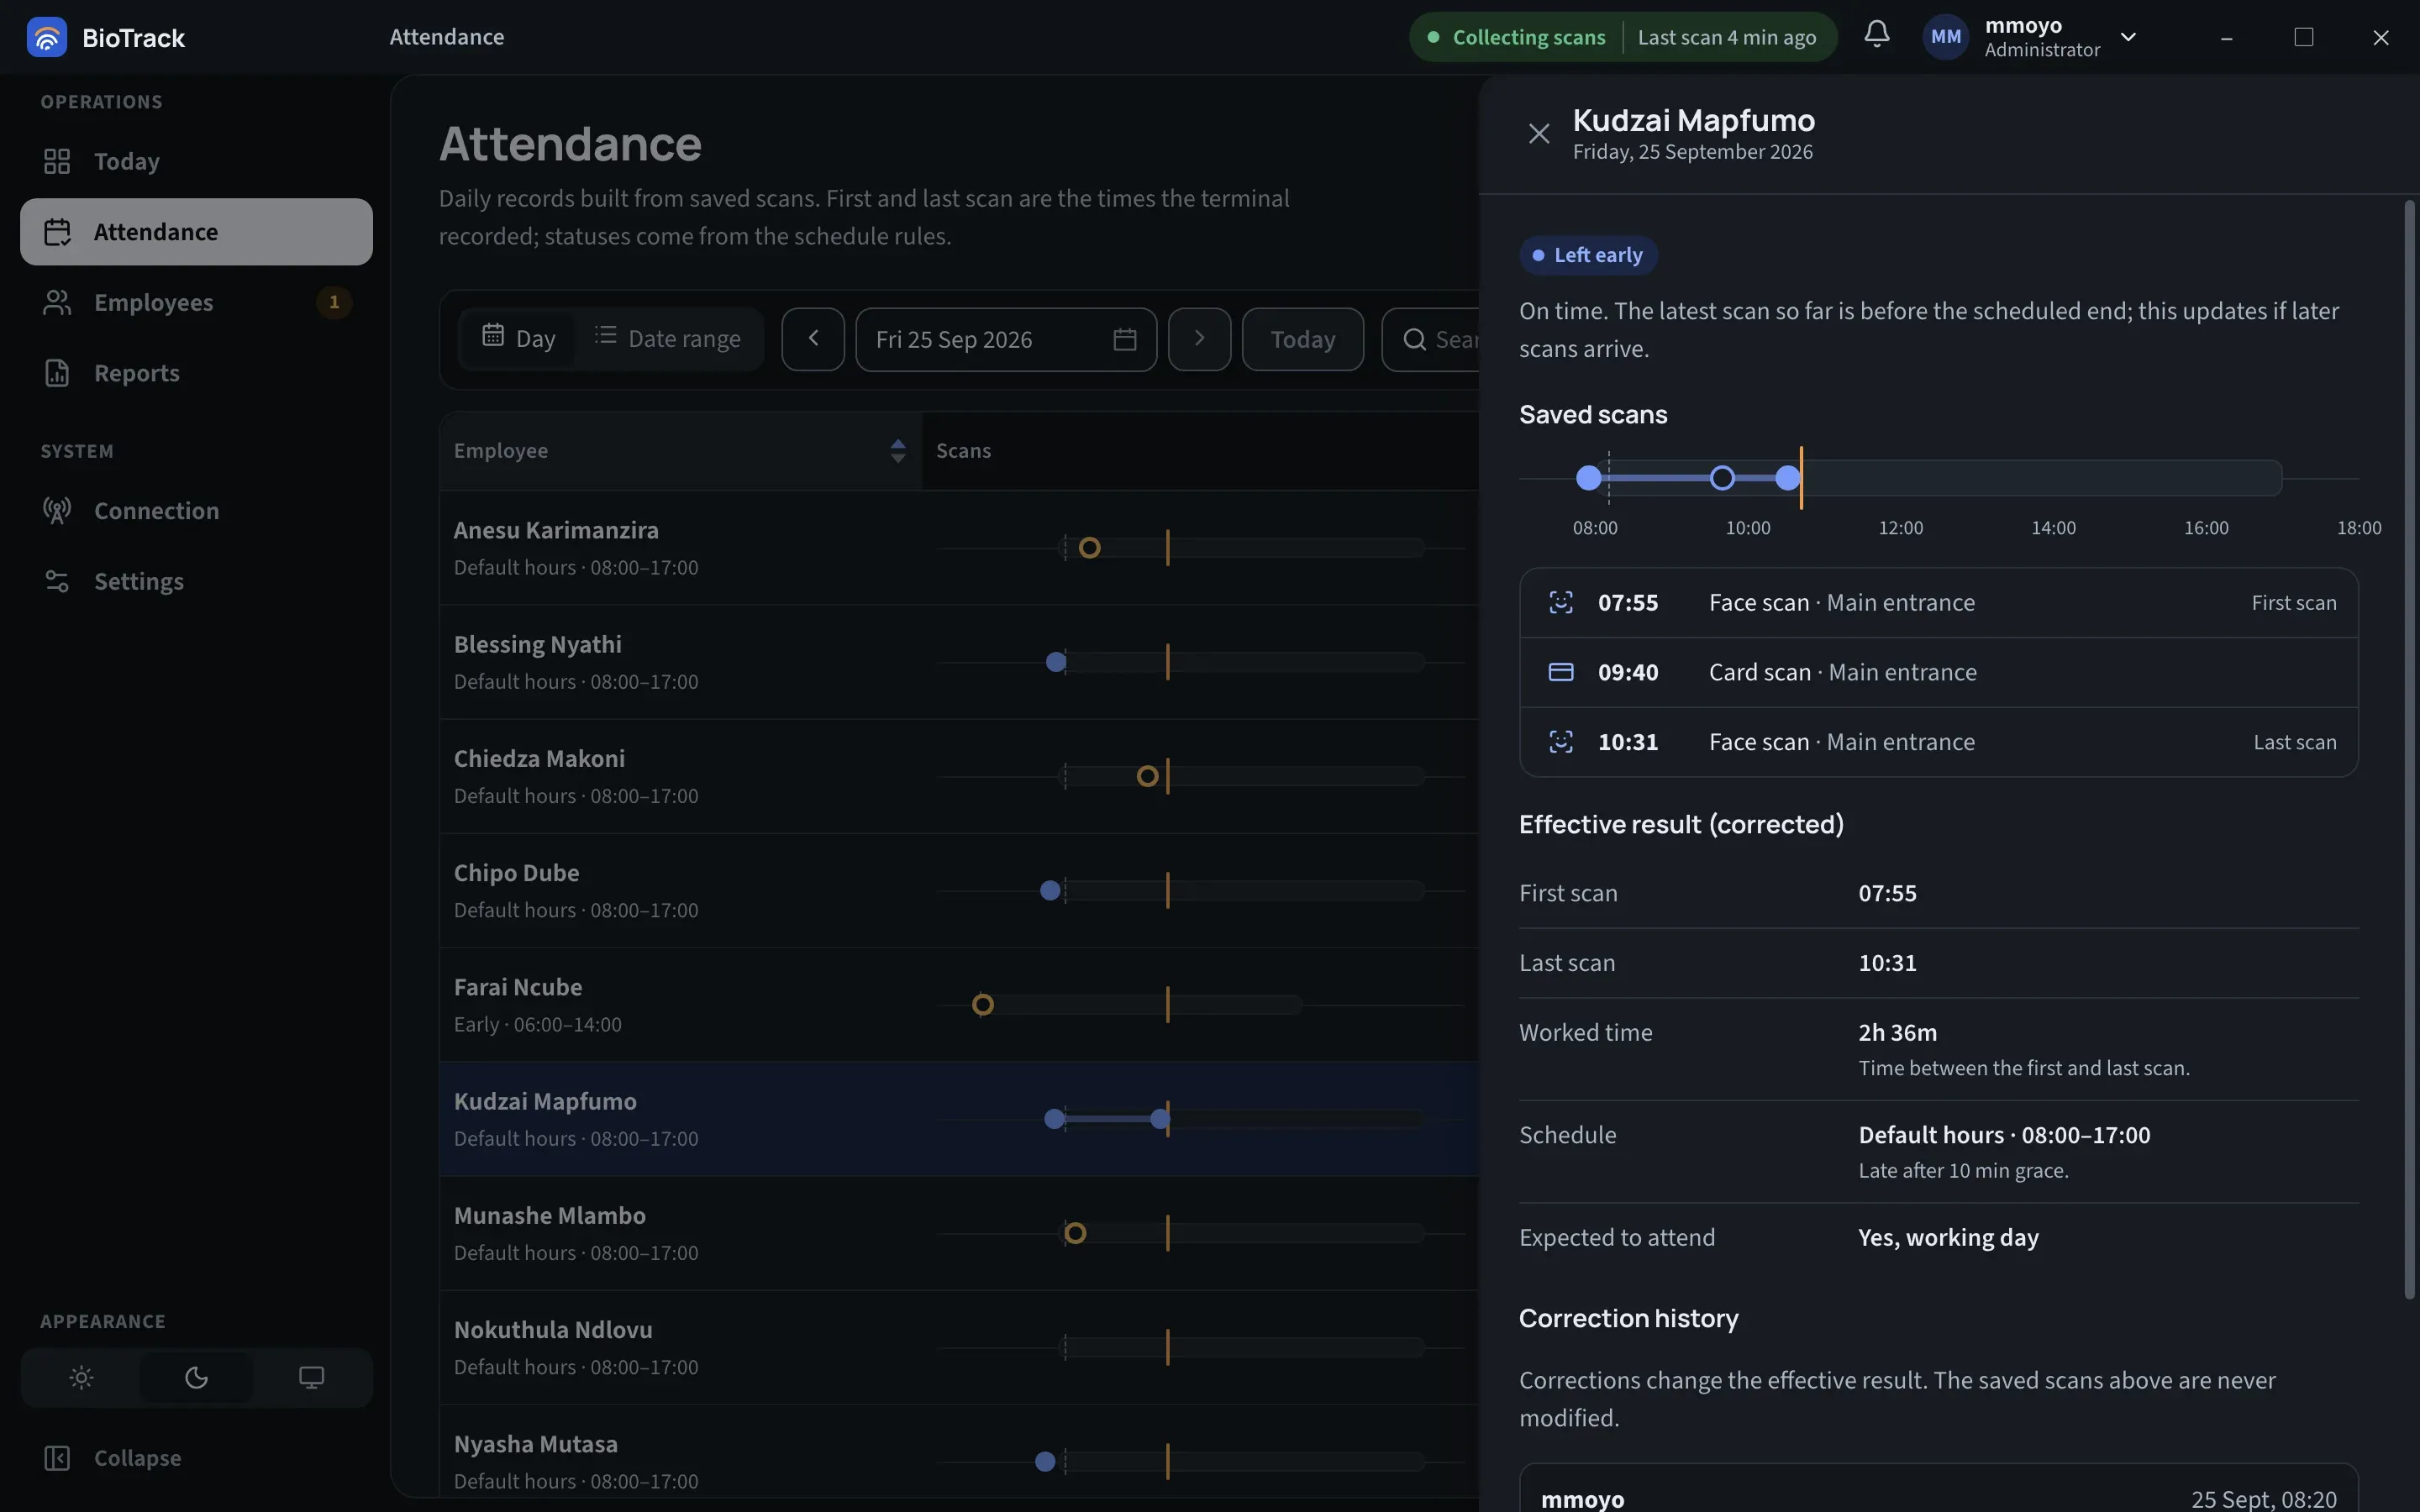
The panel shows:
- Status with a plain explanation, for example “On time. The latest scan so far is before the scheduled end; this updates if later scans arrive.”
- Saved scans — every scan the terminal saved for this person on this day, with time, method (face, fingerprint, card) and terminal name. The first and last are labelled.
- Result — First scan, Last scan (or Only one scan so far), Worked time, Schedule with its grace period, and Expected to attend (for example Yes, working day, or the name of the holiday or leave). When the day has been corrected, the heading reads Effective result (corrected).
- Correction history — shown only if someone has corrected this day: who made each correction, when, the times before and after, and the reason.
Correcting a day
Section titled “Correcting a day”Administrators see Correct attendance and Record leave at the bottom of the panel. Operators can view records but cannot change them.
- Open the record and select Correct attendance.
- Enter the First scan and Last scan times in site-local time. Leave Last scan empty if there was only one scan, or leave both empty to clear the day (it then shows as Absent).
- Enter a Reason of at least 5 characters, for example “terminal was offline, confirmed by supervisor”.
- Select Save correction.
BioTrack recalculates the status from the new times and the employee’s schedule, adds the change to the correction history, and uses the corrected result in reports.
Recording leave from a record
Section titled “Recording leave from a record”- Open the record and select Record leave.
- Check the Dates (the day you opened is filled in; you can extend it to a range).
- Choose or type the Leave type, for example Annual leave or Sick leave, and add a Note if useful.
- Select Record leave.
Days on leave are not counted as absences. Scans on those days are still saved. To see or revoke leave, go to Settings → Calendar, leave & corrections. See Calendar, leave and corrections.
Export CSV
Section titled “Export CSV”Export CSV saves what you are looking at as a CSV file. It exports every row that matches the current date, search and status, not only the page on screen. Hover over the button to see how many rows that is.
When new data arrives while you read
Section titled “When new data arrives while you read”The page refreshes itself as scans are saved. If you have sorted the list and new data would move rows around, BioTrack holds the update and shows New attendance data is available. Select Show latest when you are ready.