
Setup wizard
The setup wizard opens the first time you start BioTrack after installing it. This page takes you through its five steps. It is for the person commissioning the site; allow about 15 minutes and keep the terminal nearby.
The wizard never pretends to make progress. It saves each step once it works, and it finishes only after BioTrack has saved a real scan from the terminal.
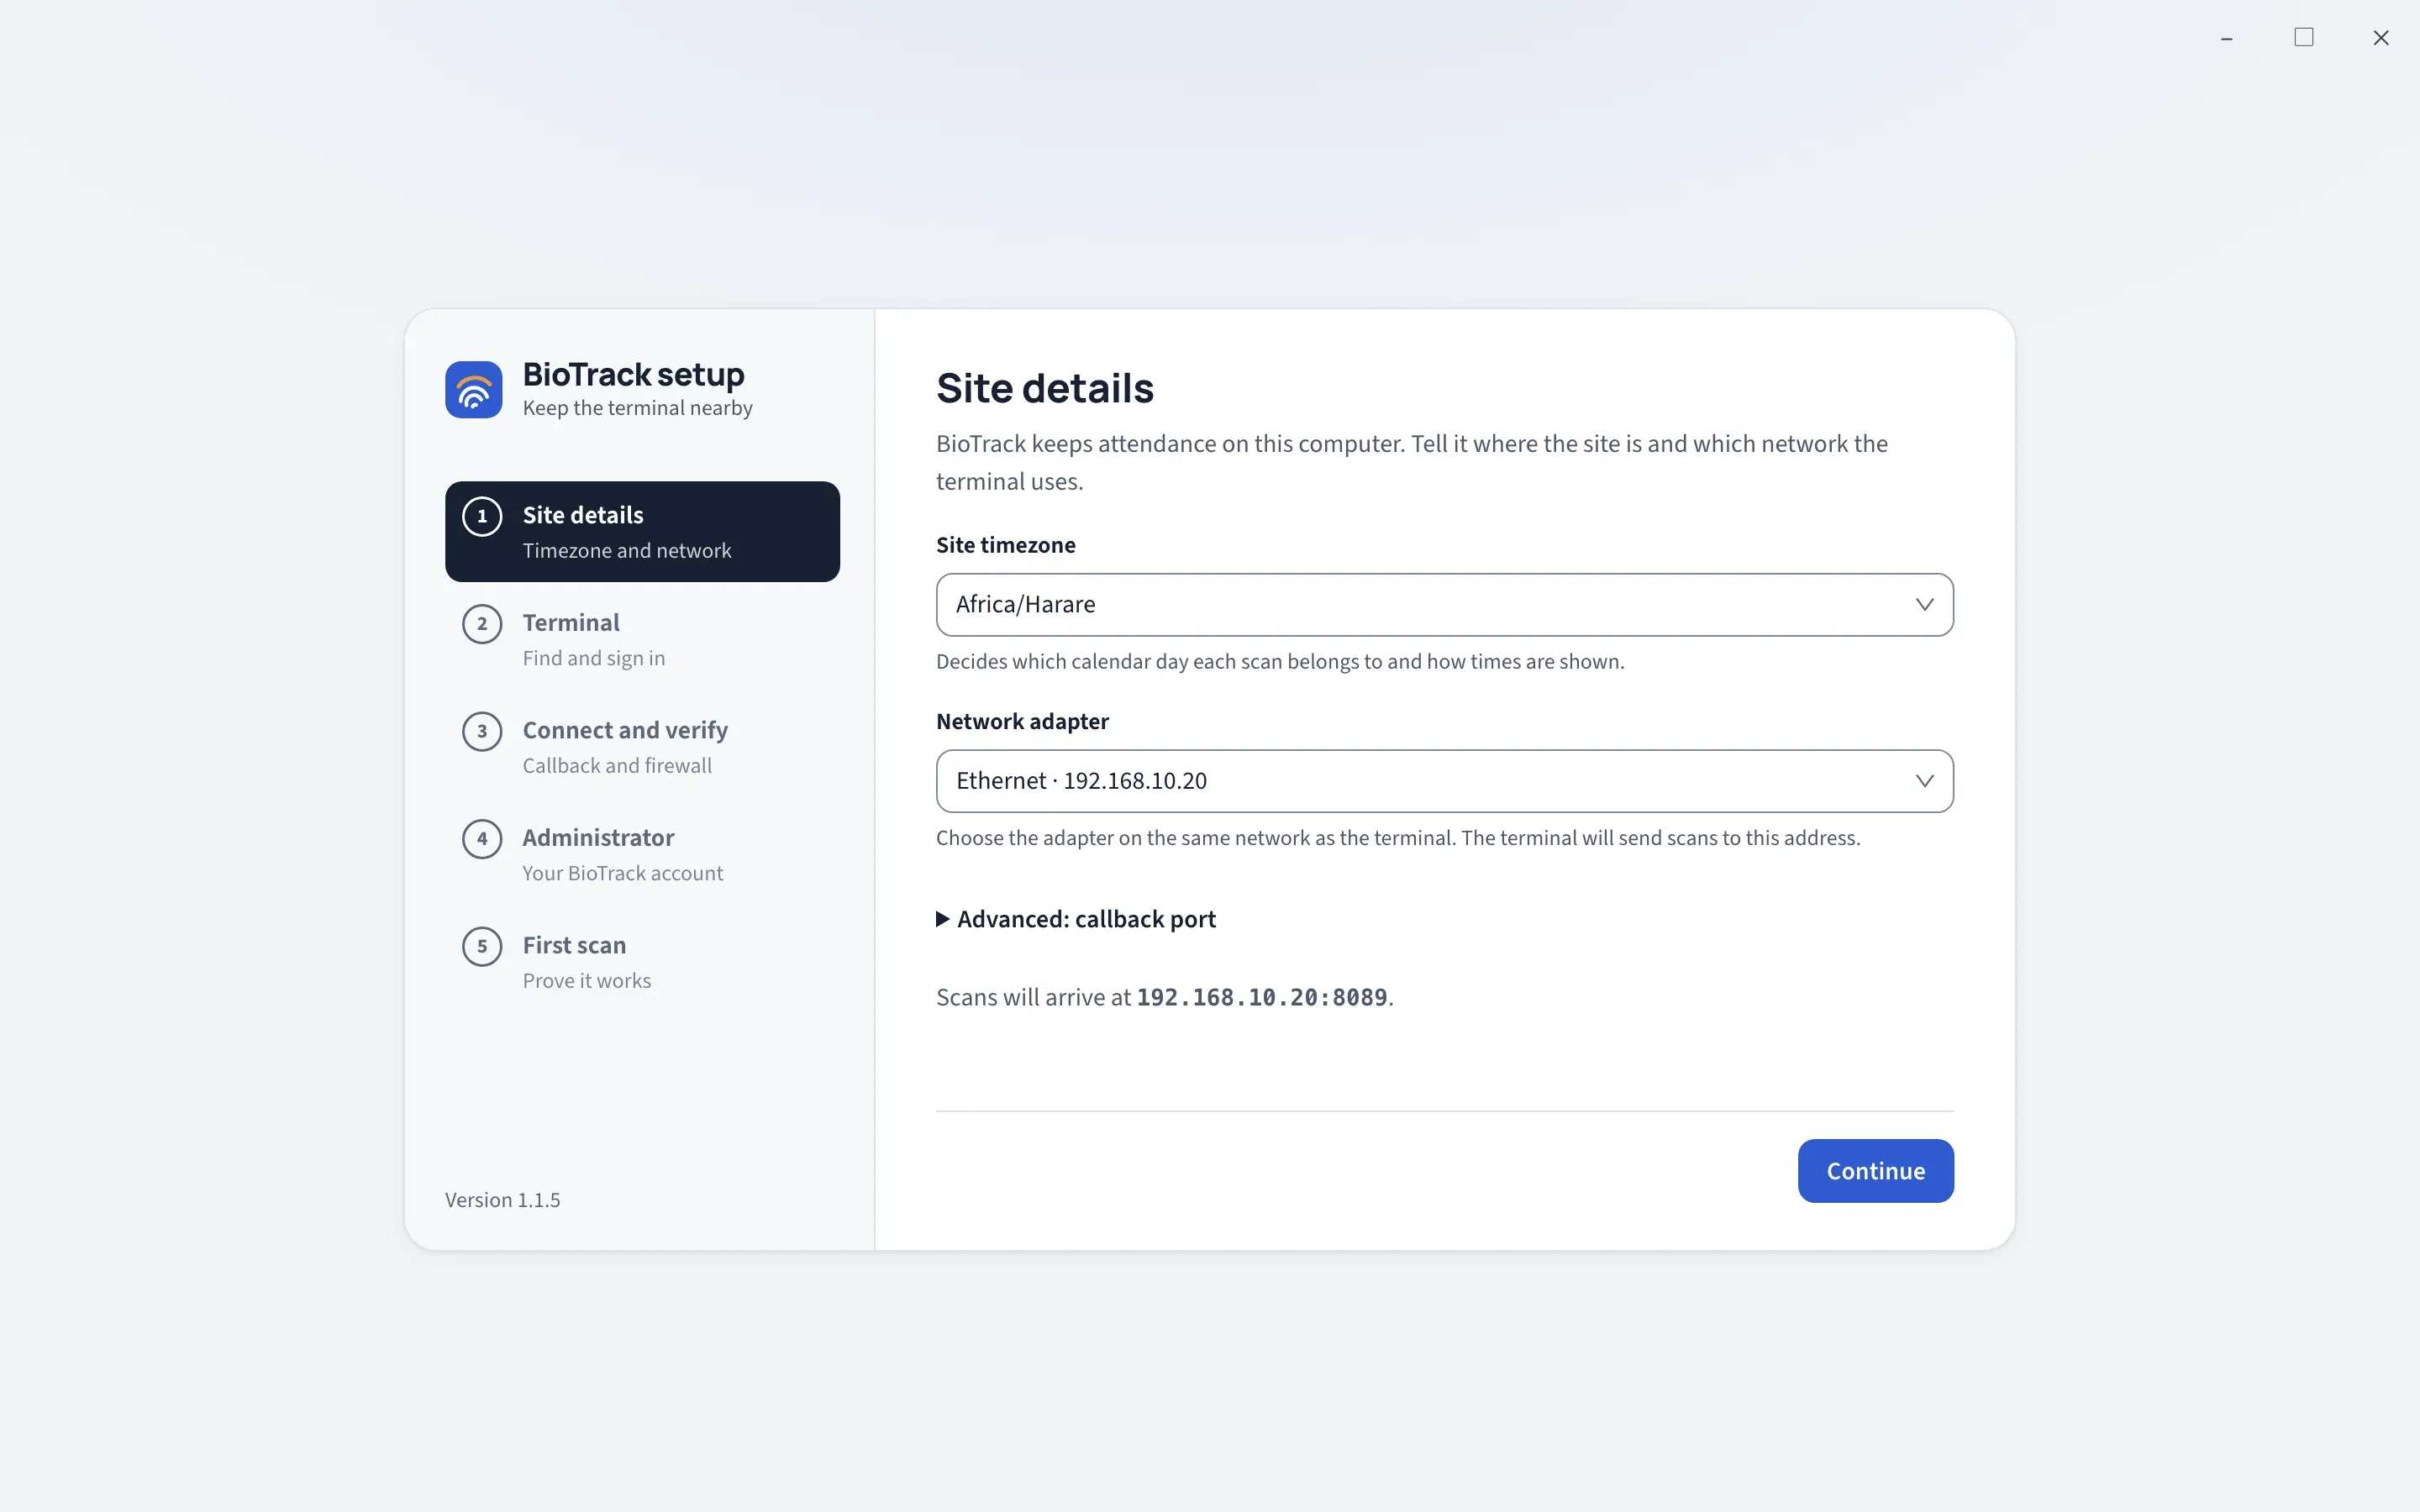
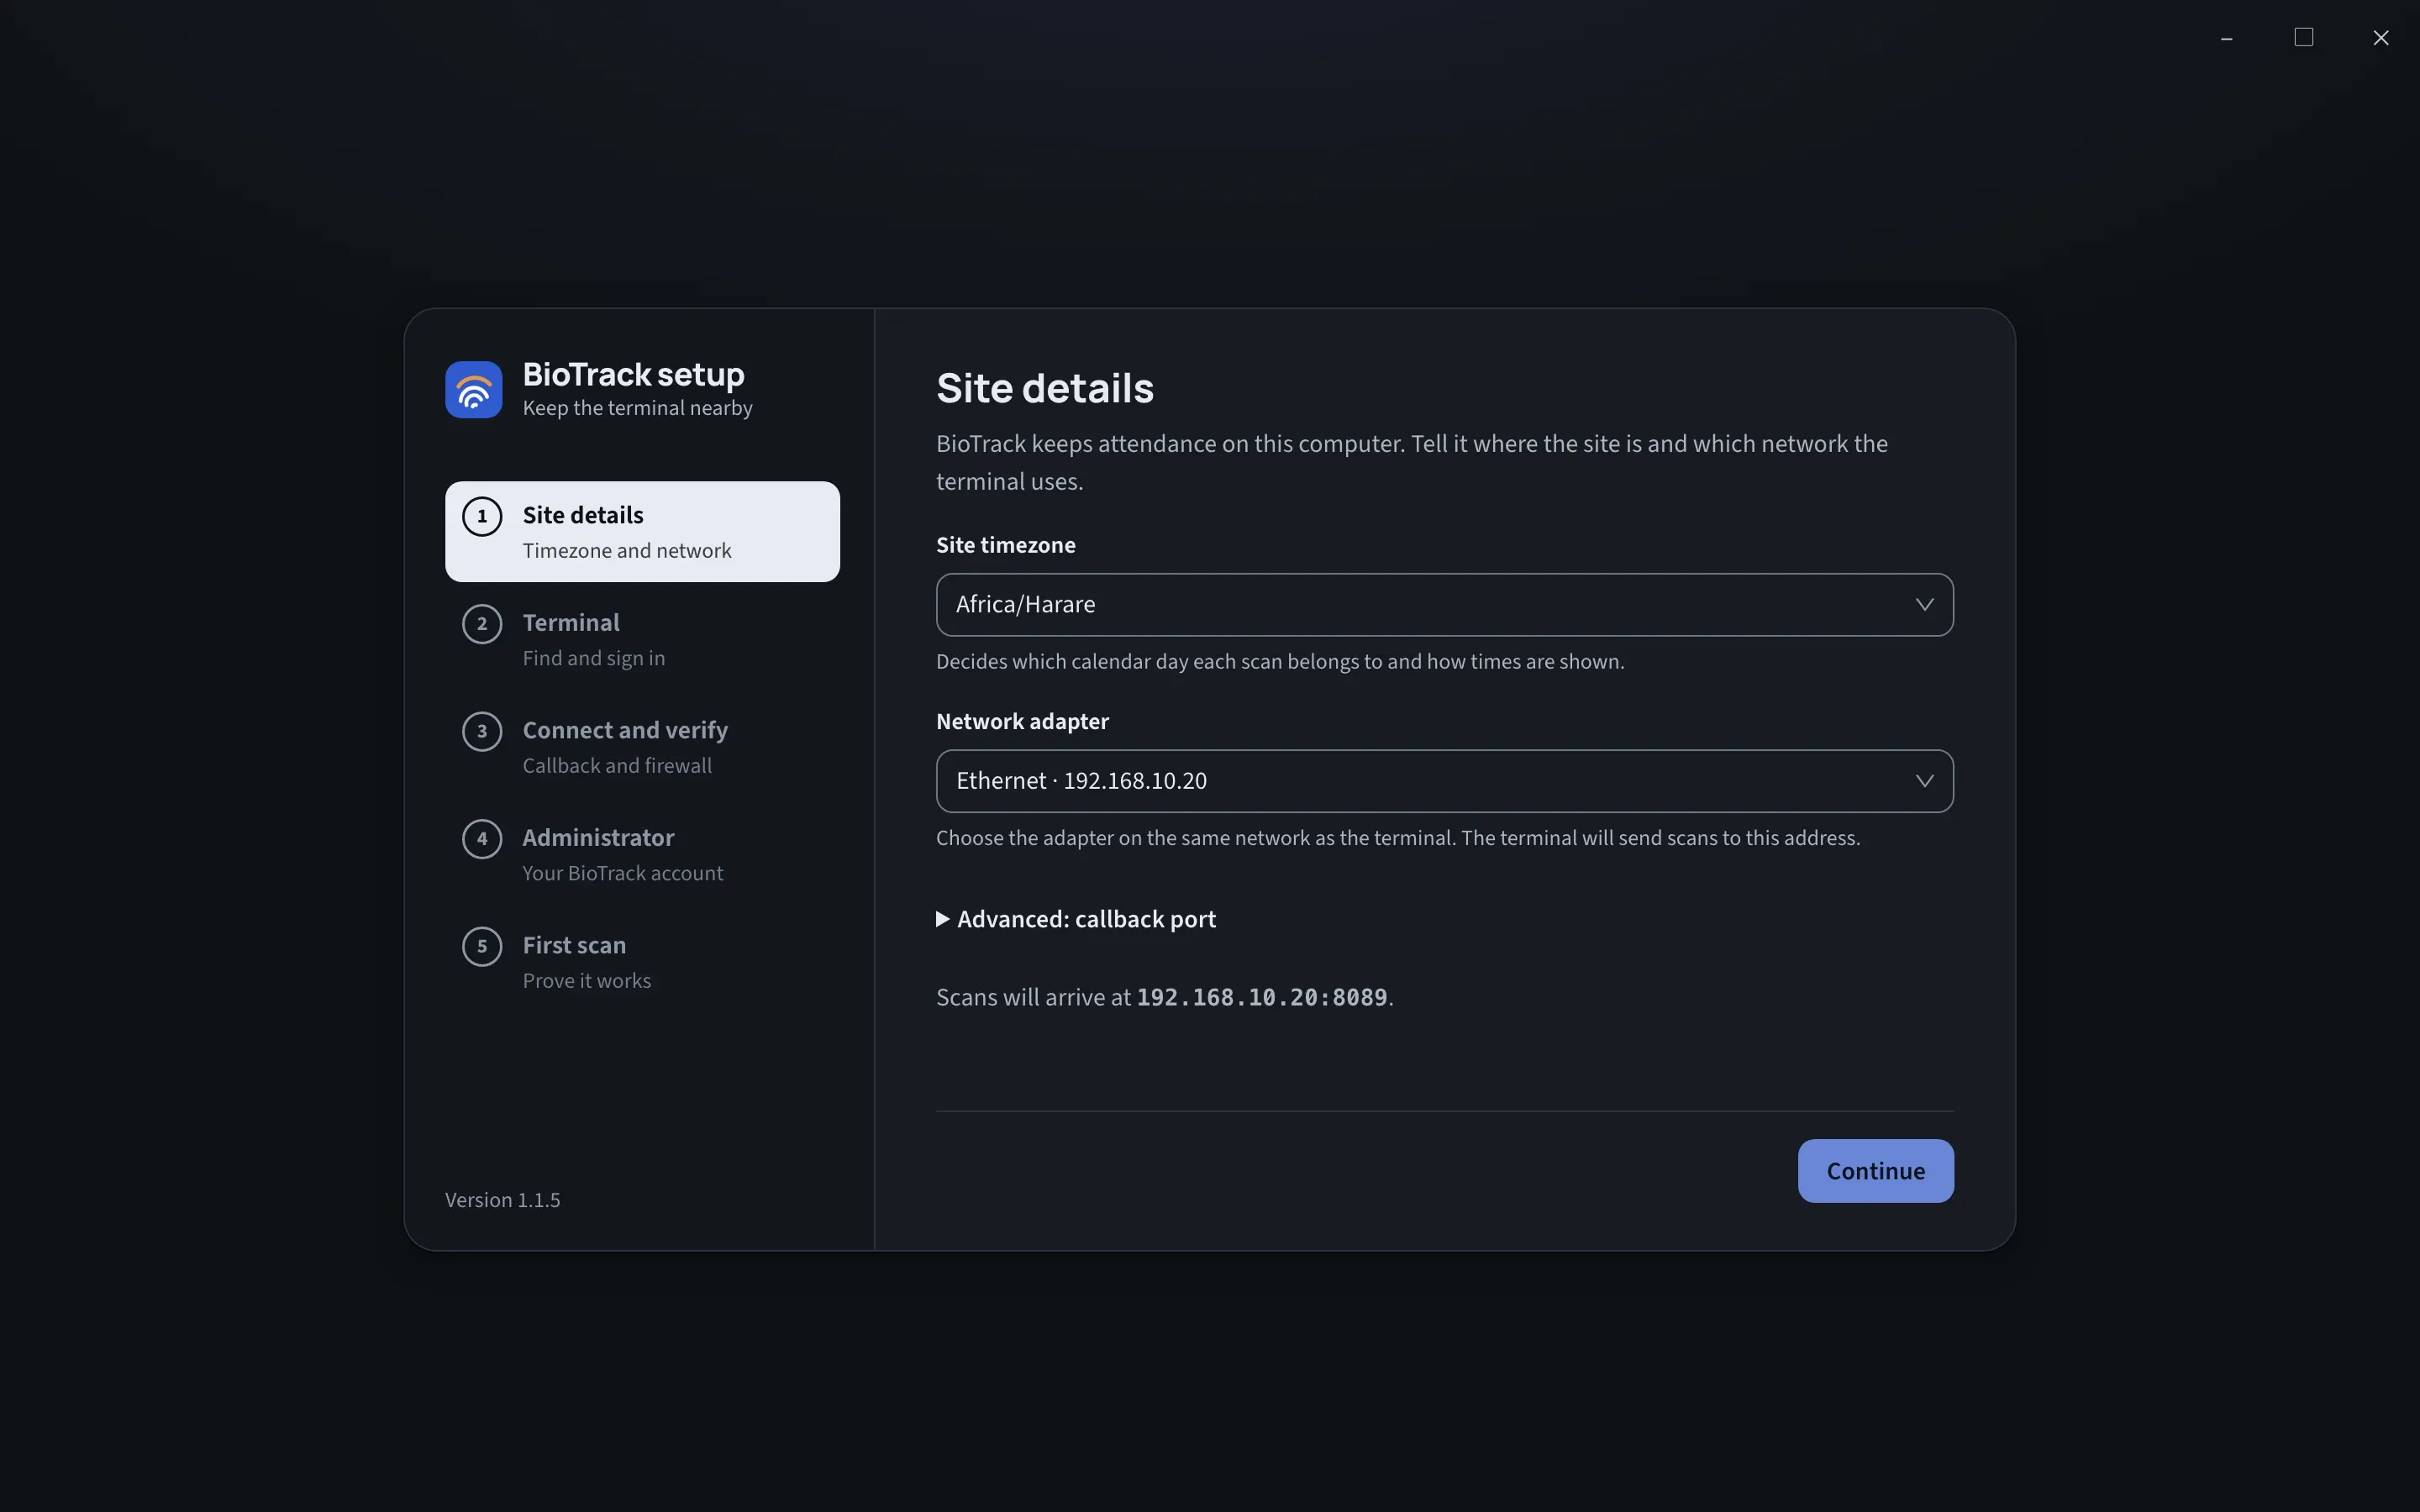
The steps are listed on the left: Site details, Terminal, Connect and verify, Administrator and First scan. You can go back to an earlier step at any time with Back or by selecting it in the list.
1. Site details
Section titled “1. Site details”Tell BioTrack where the site is and which network the terminal uses.
| Field | What to choose |
|---|---|
| Site timezone | The timezone of the site. It decides which calendar day each scan belongs to and how times are shown. BioTrack suggests the PC’s timezone. |
| Network adapter | The adapter on the same network as the terminal. The terminal will send scans to this address. |
| Advanced: callback port | Leave it at 8089 unless another program already uses that port. Any port from 1024 to 65535 works. |
The wizard shows where scans will arrive, for example Scans will arrive at 192.168.10.20:8089. Select Continue. If the port is taken, BioTrack says so and asks you to choose another.
2. Terminal
Section titled “2. Terminal”Find the terminal and prove its credentials.
-
Select Search. BioTrack lists the Hikvision terminals that answer on the chosen network, with model, address and serial number. Select yours.
If No terminals answered, check that the terminal is powered on and on the same network, or type its address into Terminal address.
-
Choose Connection security:
- HTTPS with a trusted certificate requires a trusted certificate on the terminal.
- HTTP Digest (isolated network) is not encrypted. Use it only on a dedicated, isolated device network.
-
Enter the Terminal username (usually
admin) and Terminal password. These are the terminal’s own administrator credentials, not a BioTrack or Windows account. -
Select Check and continue. BioTrack tests the details first and saves them only if the terminal accepts them.
If you see The terminal check failed, the message says why, for example a wrong password or an untrusted certificate. Correct the details and try again.
3. Connect and verify
Section titled “3. Connect and verify”BioTrack now points the terminal at this computer and checks that the terminal can deliver scans. The page summarises the Terminal, the Security mode and where Scans sent to.
-
Select Connect terminal.
-
If the page shows Windows administrator approval, Windows asks an administrator to allow a firewall rule. The rule accepts callbacks only from this terminal. Approve the prompt; this is separate from your BioTrack account and the terminal password.
-
Wait while BioTrack saves the callback, waits for Windows approval, configures the terminal and verifies the callback. This can take up to two minutes. Keep the window open.
-
When you see Terminal connected, select Continue.
If the prompt is declined or closed, you see Windows approval was not given. Your settings are saved; select Try again when an administrator can approve it. For any other failure, The terminal could not be connected explains the reason. Check the terminal address and network, then select Try again.
4. Administrator
Section titled “4. Administrator”Create the BioTrack administrator account. This is your sign-in to BioTrack, separate from the terminal’s credentials and from Windows.
| Field | Notes |
|---|---|
| Full name | Your name. |
| Username | What you type to sign in. |
| Password | At least 12 characters. Use a passphrase you don’t use anywhere else. Very common passwords are refused. |
| Confirm password | The same password again. |
Select Create account. Store the password safely: BioTrack has no master password or reset link. See Accounts and sign-in.
5. First scan
Section titled “5. First scan”Ask someone who is enrolled on the terminal to scan a face, finger or card. BioTrack starts the collector if it isn’t running and shows Waiting for a scan… with the address it is listening on.
When the scan is saved you see Scan saved with the person’s name, the scan type and the time on the site clock. If the person is new to BioTrack, you can review them later on the Employees page. Select Scan again to repeat the test, or Finish setup.
If No scan has arrived yet appears after two minutes:
- Make sure the person scanning is enrolled on the terminal.
- Check that the terminal and this computer are on the same network.
- Go back to Connect and verify and connect again if the network changed.
If you see The collector did not start, select Try again. If it keeps failing, see Connection states.
After Finish setup, BioTrack shows the sign-in screen. Sign in with the administrator account you created.
Resuming interrupted setup
Section titled “Resuming interrupted setup”You can close BioTrack part-way through. Setup saves the listener, the terminal details and the administrator account as each step succeeds, and when you open BioTrack again the wizard resumes:
- If the site details were saved, it starts at Terminal.
- If the terminal was also saved, it starts at Connect and verify, because the callback must be confirmed again. The saved terminal password is kept; leave the password field blank to reuse it.
- If the administrator account already exists, the Administrator step shows Your BioTrack administrator account is ready and you continue to First scan.
If the wizard shows Saved setup could not be loaded, select Try again. If BioTrack instead shows Collector service unavailable, the problem is the service, not the setup; see Connection states.